
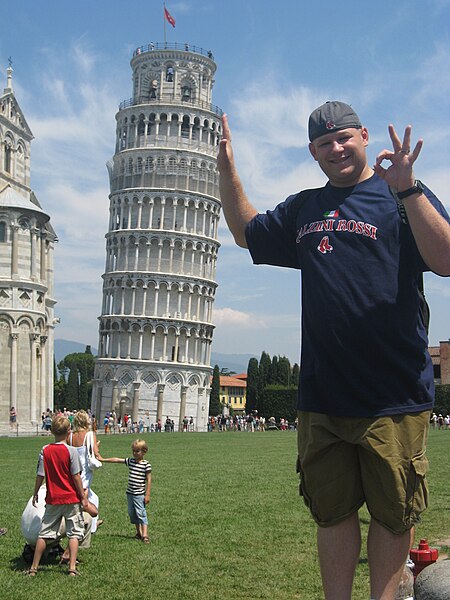
Last time we took advantage of the very shallow depth of field created by a wide open aperture in order to create some portraits with a blurred out background. This time we are going to do the opposite. We are going to take advantage of the very deep depth of field to create some straight out of the camera illusions called "forced perspective."
This assignment has three parts. For the first part, you will do some online research. Look wherever you can for examples of forced perspective. Look at a lot of examples! There are tons of them out there.
After you have sampled much of the forced perspective magnificence that the web has to offer, you must then search for a forced perspective tutorial. Again, there are many available on the web, find one that you can understand so that you can go out and create a forced perspective picture of your own.
The final step is to go out and take a picture. Work in groups of three. Either of the cameras that we have will work for this assignment. Make sure that the camera is in aperture priority mode and then set the camera at the highest possible aperture (f22 on the Nikon or f8 on the Canon).
Post a link to the tutorial that you followed on your blog, as well as the picture that you were able to create.
Good Luck!

No comments:
Post a Comment